In this tutorial we’ll learn how to Design a Poster for the awesome show Dexter!

1. Open a new document that’s 600×800 pixels. Get the dexter image and open it up in Photoshop.
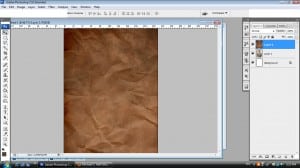
2. Copy and Paste the dexter image onto the canvas and resize the image so it fits nicely. Next get the paper texture you want then copy and paste it onto the canvas.
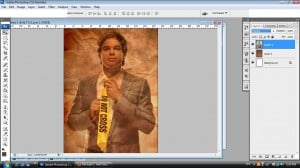
3. Place the dexter image over the paper texture and set the Blending Mode to Overlay.
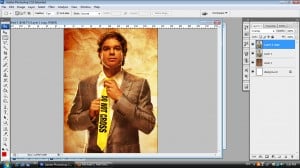
4. Duplicate the Dexter layer.
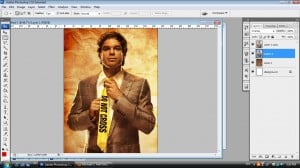
5. With the duplicated layer selected go to Image > Adjustments & Desaturate.
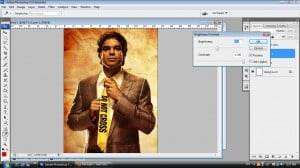
6. On the same layer go to Image > Adjustments & Brightness/Contrast. Make the Brightness -21 and Contrast +100.
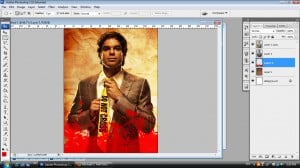
7. Next get this Splatter brush and place ‘blood splatters on a new layer under the 2 dexters, after change the blending mode to Soft Light.
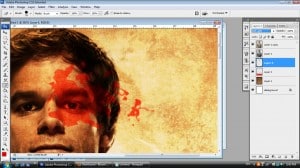
8. Create a new layer and zoom in to Dexter’s eye. Find a splatter shape you like and put a splat on Dexter’s eye. Make the Blending mode Soft Light.
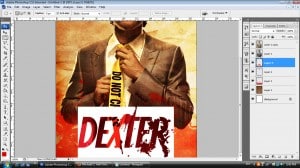
9. Get the Dexter Font image copy and paste the image onto the design.
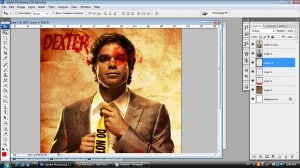
10. Press ctrl+t and make the font smaller, move the font to the left top corner. Make the blending mode Multiply.
Final Result
